
Last updated November 20, 2026
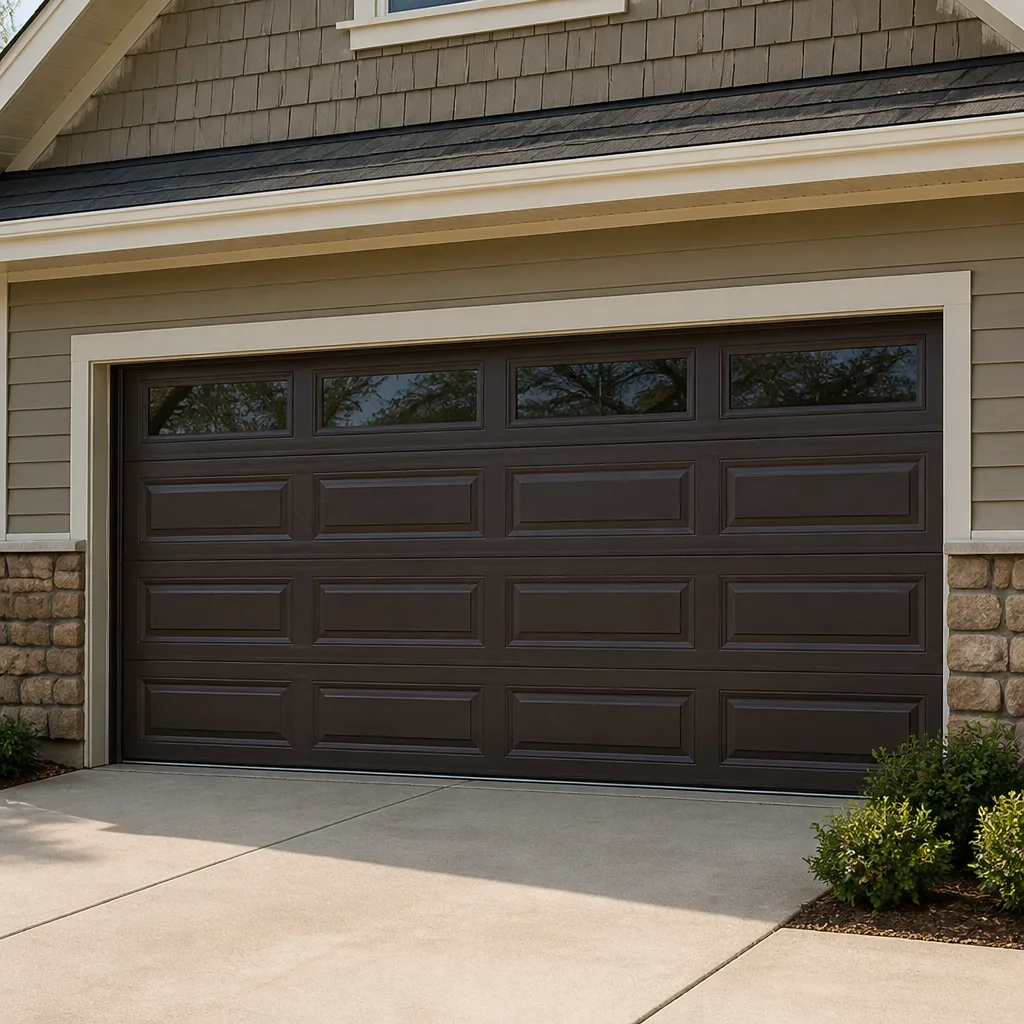 Raised-panel steel
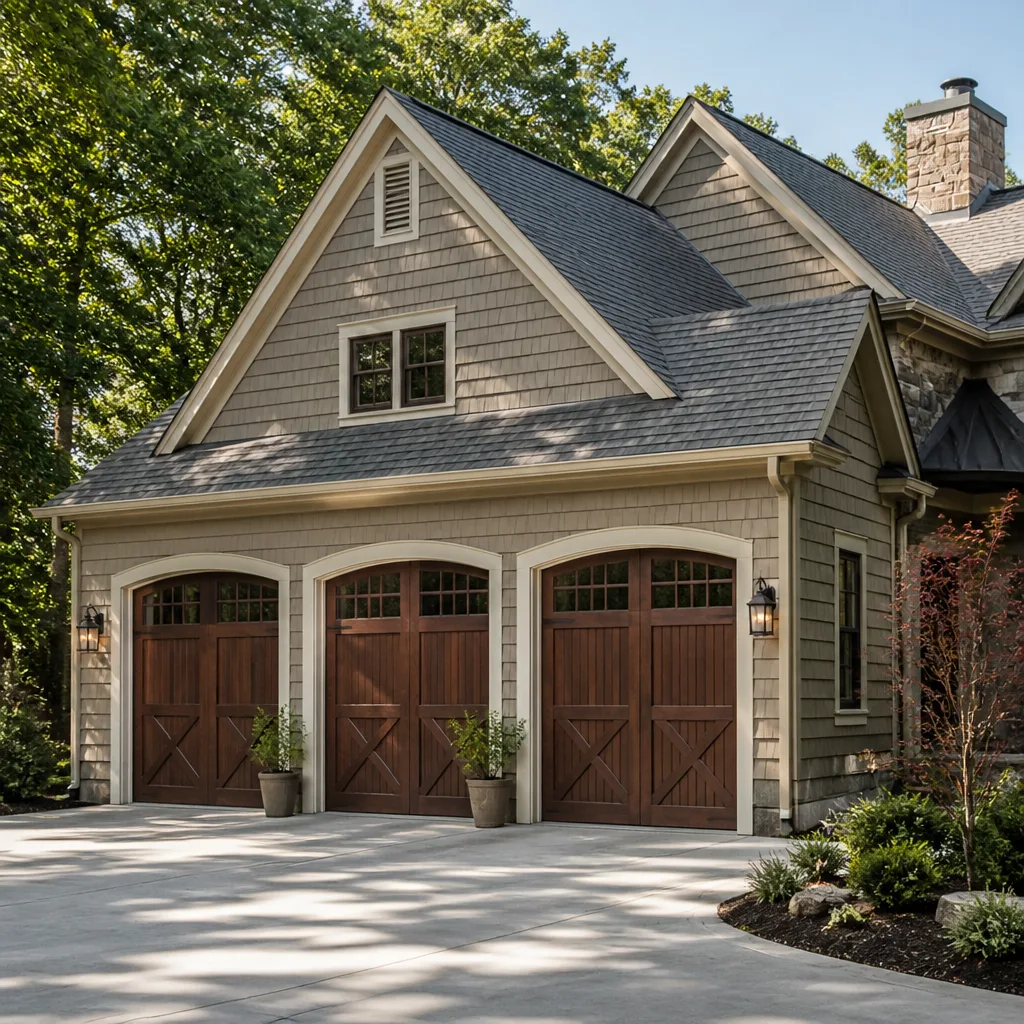 Carriage house
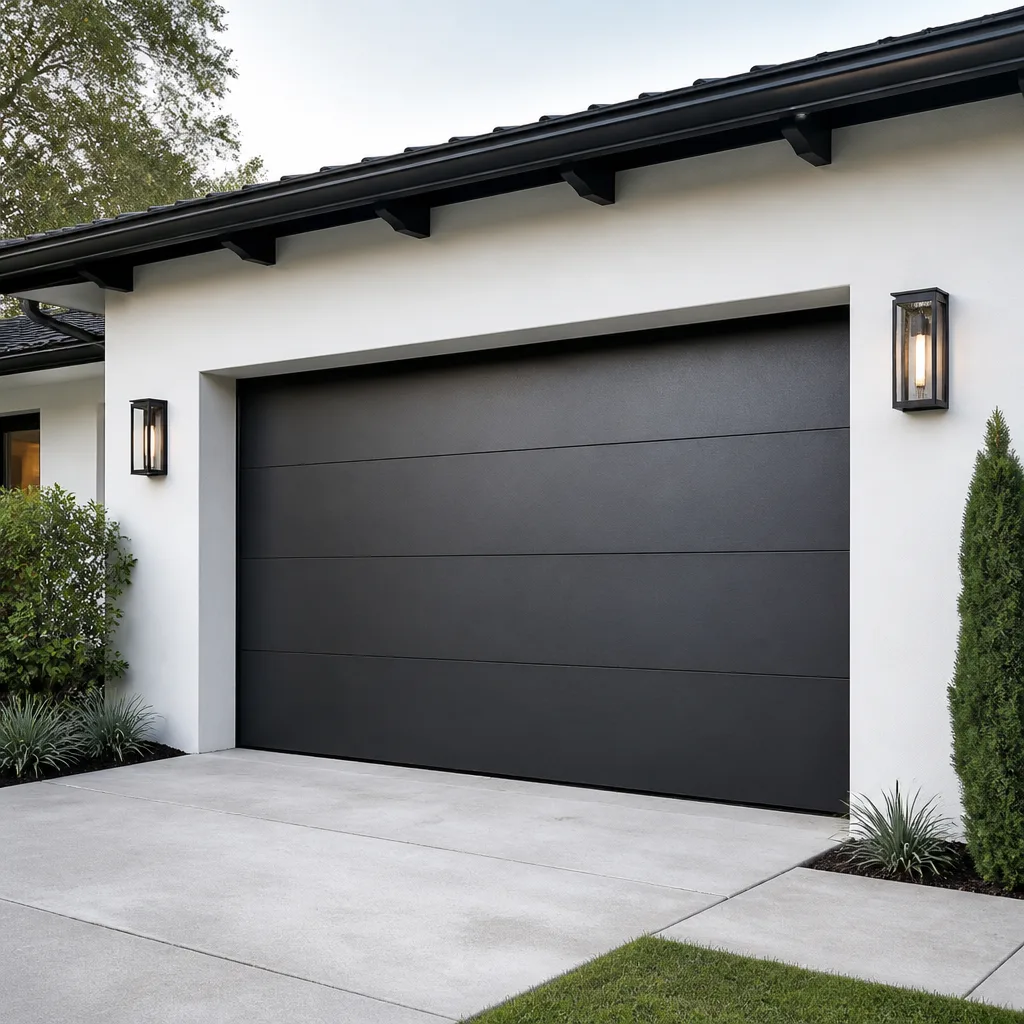 Modern flush
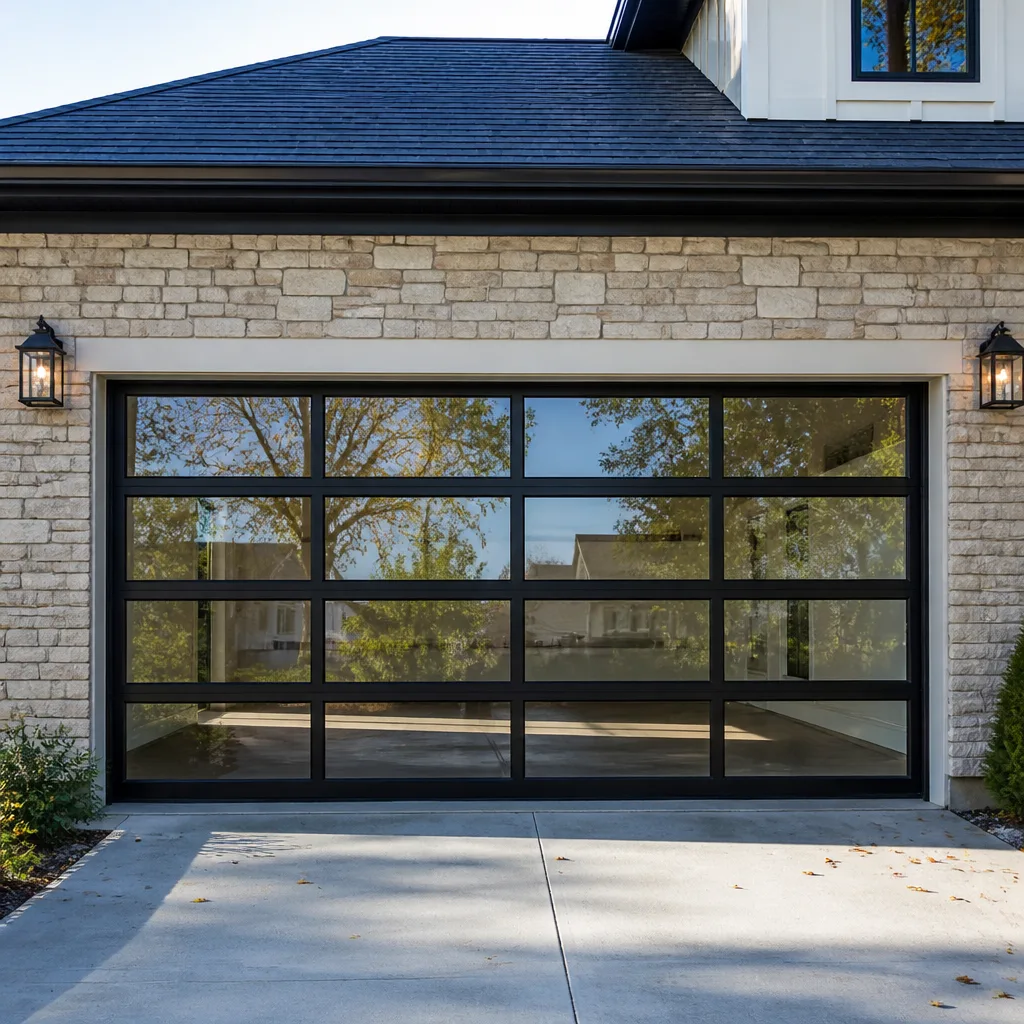 Full-view glass
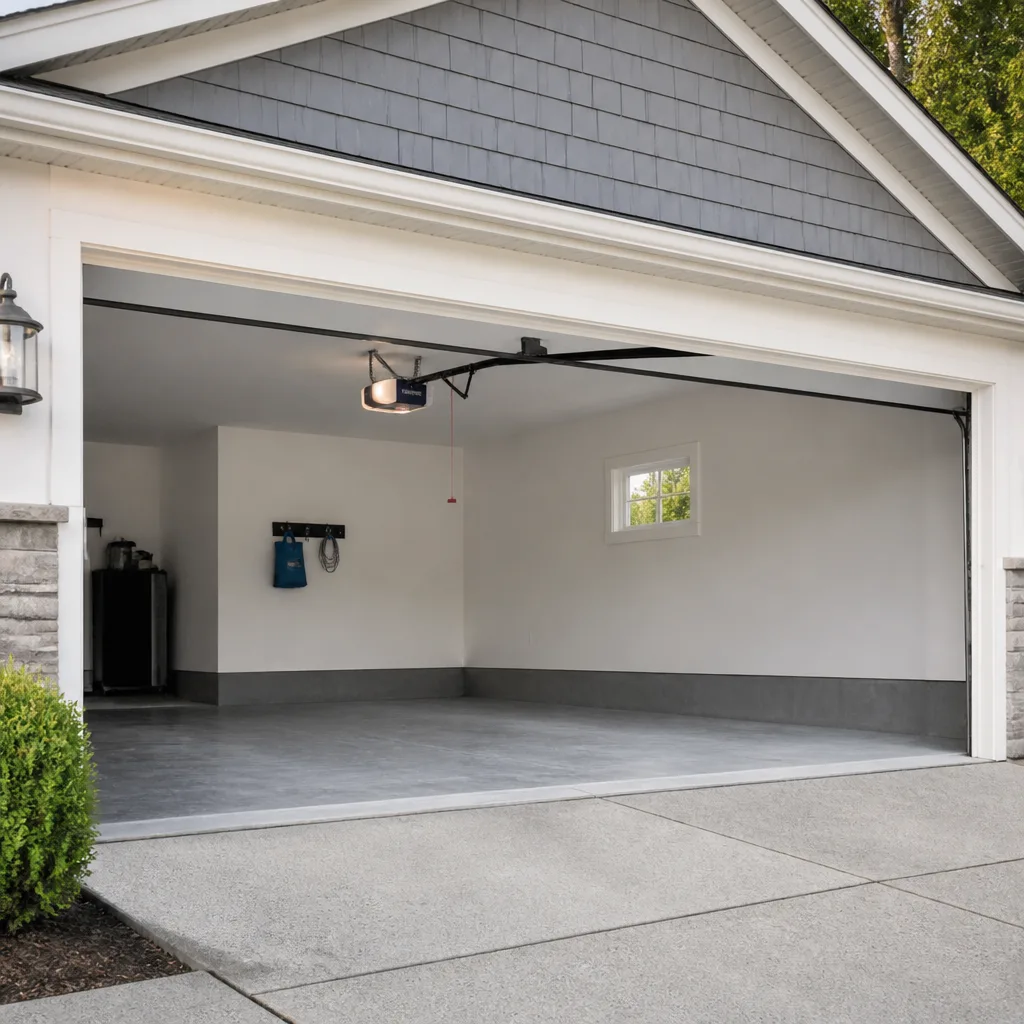 LiftMaster openers
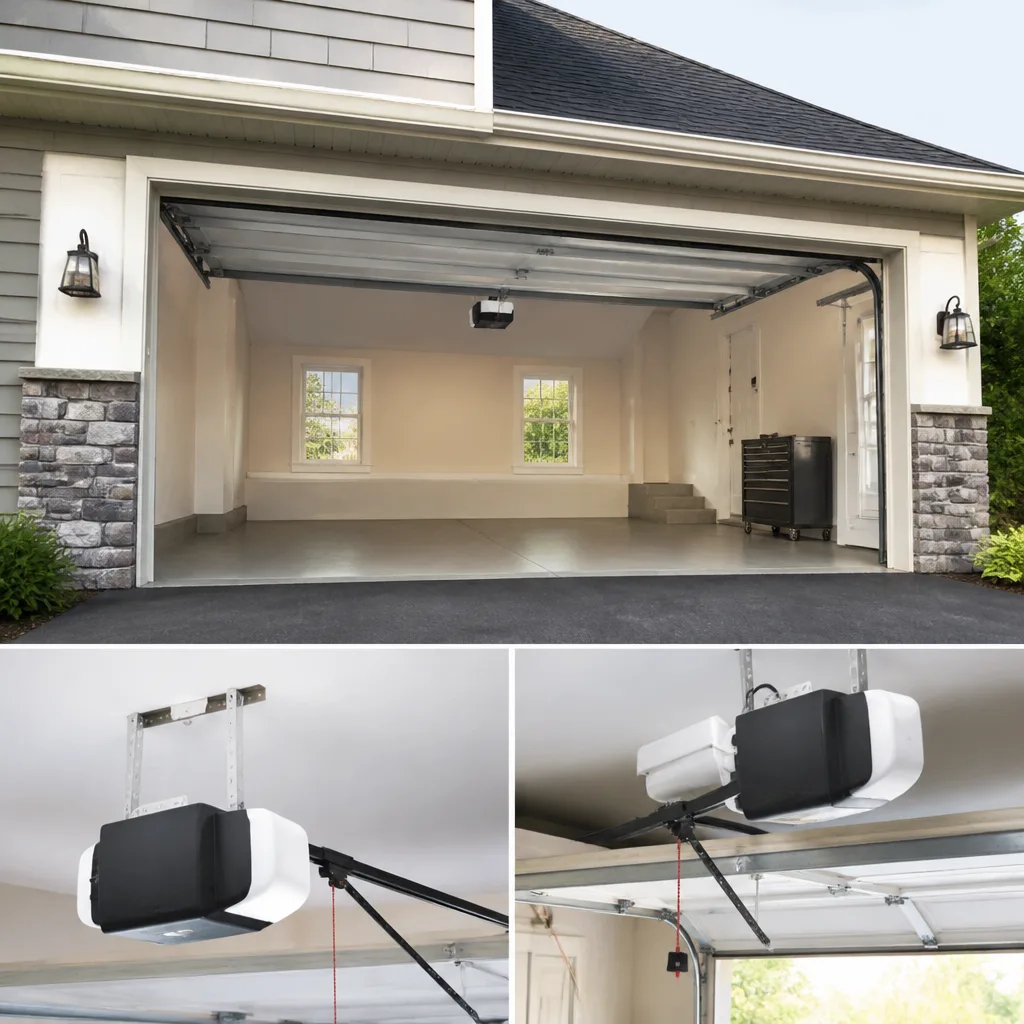 Chamberlain openers
Full 25-point door and opener safety check with every visit - springs, cables, rollers, tracks, and your LiftMaster or Chamberlain opener included
You get a price before we start. It does not change when the pro arrives.
Get your free estimateDIY vs Professional Garage Door: The Irvington Homeowner’s Decision Guide
Most homeowners who ask whether to fix a garage door themselves are asking the wrong question. It’s not really about how handy you are. It’s about which specific jobs have consequences that can’t be walked back, and which don’t. We work on garage doors every day in Irvington, and the line we draw isn’t skill. It’s whether a mistake injures you, wrecks the door, or both. This guide breaks garage door work into tasks you can safely handle, tasks you shouldn’t, and a hybrid approach most guides ignore: do your own diagnosis, hand off only the repair.
Key Takeaways
- Weatherstripping, sensor alignment, and lubrication are genuinely safe DIY tasks; springs, cables, and track realignment are not.
- A torsion spring stores enough energy to cause serious injury in under a second. That’s a physics constraint, not a scare tactic.
- DIY often costs more than it saves once you account for tools, time, and the odds of a callback visit when it fails.
- The smartest move is a hybrid: diagnose the problem yourself, then hand off the dangerous repair with a clear description of what’s wrong.
- On new installations, matching the door to the opener and the home’s structure is where DIY stops making sense entirely.
Styles & brands we work with
- Raised-panel steel
- Carriage house
- Modern flush
- Full-view glass
- LiftMaster openers
- Chamberlain openers
Quick Answer
Safe DIY garage door work is limited to weatherstripping, safety sensor alignment, and lubrication. Spring replacement, cable work, and track realignment are professional jobs because a mistake causes serious injury or a collapsed door. For most Irvington homeowners, the smart path is to diagnose the problem yourself and hand off the repair to a trained technician with the brand experience to finish it correctly.
Table of Contents
- Where the DIY Line Actually Falls
- The Genuinely Safe DIY List
- Why Springs and Cables Are a Hard No
- The Real Cost Math of DIY vs Professional
- Opener Programming and Smart Home: Where DIY Stops
- The Hybrid Approach: Diagnose Yourself, Hand Off the Repair
- Repair vs Installation: Two Different Decisions
- What’s Specific to Irvington Garages
Where the DIY Line Actually Falls
Garage doors are not a single system. They’re a chain: springs balance the door’s weight, cables connect springs to the door, tracks guide it, rollers carry it, and the opener just pushes it. Each link has a different consequence when it fails. That’s why the DIY question can’t be answered as a whole. It has to be answered link by link.
We think about it in three tiers. Tier one is cosmetic and low-load: weatherstripping, bottom seals, lubrication, sensor brackets. A mistake here costs you an afternoon and maybe a seal. Tier two is mechanical and moderate: rollers, hinges, and light adjustments to the opener’s travel limits. A mistake here means the door might not close, but the danger is limited. Tier three is high-tension and structural: springs, cables, torsion bars, track alignment, and anything that involves the door coming off the ceiling. A mistake here is where people get hurt.
The tiers are not about how mechanical you are. They’re about what the failure mode looks like. In tier one and two, failure is inconvenient. In tier three, failure is dangerous, and the recovery almost always requires a professional anyway. That’s the logic behind our thesis: the DIY vs professional question isn’t really about skill. It’s about which tasks have consequences severe enough that a mistake isn’t recoverable without professional intervention. Most Irvington homeowners who get into trouble did it in tier three, and by the time they call us, the door is off its track and the situation is worse than it needed to be.
The Genuinely Safe DIY List
Here’s what you can actually do yourself, without special tools and without real risk, on a garage door in Irvington. We’re not trying to talk you out of these. They’re good habits that extend the life of your door and keep small problems from becoming repairs.
- Weatherstripping and bottom seals. Worn seals let in drafts, water, and pests. Replacing them is a screwdriver-and-knife job and the parts are available at any hardware store. This is the single highest-return DIY task on a garage door.
- Safety sensor alignment. If your door reverses without warning, a misaligned sensor is the usual culprit. Wipe the lenses, check that both LEDs are solid, and nudge the brackets until they line up. That’s it.
- Lubrication. A small amount of white lithium grease or a silicone spray on the rollers, hinges, and the torsion bar’s bearings keeps things quiet. Don’t overdo it; excess grease attracts grit.
- Visual inspection. Check the springs for gaps or coils that look stretched. Look at the cables for fraying near the pulleys. If anything looks off, that’s not a “fix it yourself” moment; it’s a “call someone” moment.
- Testing the auto-reverse. Place a 2×4 flat under the door and close it. The door should reverse on contact. Do this monthly.
- Cleaning the photo-eye path. A leaf or cobweb breaks the sensor beam. It’s the most common false alarm we see.
None of that requires training. All of it is worth doing. And all of it keeps you out of the situations where you’d actually need garage door repair in the first place.
Why Springs and Cables Are a Hard No
A torsion spring stores enough energy to cause serious injury in under a second. That’s not a scare tactic; it’s a physics constraint. A standard torsion spring on a residential door is wound to a specific tension and holds that energy until the door is raised. When you touch it with the wrong tool, wear the wrong gloves, or underestimate the wind, that energy releases all at once, and the spring bar or the spring itself can swing out with serious force. We’ve seen the aftermath enough to tell you honestly: this is not a job to learn on.
The failure modes are non-obvious until they happen. A torsion spring that snaps while you’re winding it doesn’t just fail; the bar you’re holding whips around. A cable that’s off its drum can pull the door down with it. And a door that’s been re-tensioned by hand but not balanced correctly will strain the opener, wear the rollers, and eventually fail somewhere worse. The tricky part about springs is that the failure doesn’t announce itself. You feel fine, the door works, and then three weeks later the door is sagging on one side because the spring has lost tension. That’s a professional call at that point, and the original DIY job is the reason.
Cables are in the same category. They’re under tension, they’re connected to the springs, and a cable that’s been re-attached incorrectly can slip and drop the door. We treat spring repair as a named, dedicated service for a reason: it’s the most dangerous and mechanically critical component on the door, and it deserves to be treated that way. If you suspect a spring or cable problem in Irvington, the safest move is to stop, prop the door closed, and call a trained professional.
The Real Cost Math of DIY vs Professional
On paper, DIY looks cheaper. In practice, it’s often not. Here’s the comparison most guides skip: the full cost of a DIY job is the parts, the tool you probably don’t own, the hours, and the probability that you’ll need a paid professional visit when it doesn’t work. Add those up and the gap closes fast.
- Tool cost. A proper winding bar set, a cable puller, and a torque wrench aren’t cheap, and you’ll use them once.
- Time cost. A spring replacement that takes a trained technician under an hour can take an inexperienced homeowner most of a day.
- Callback cost. If the door still won’t operate correctly, you’re back to where you started, minus the parts and the hours. That’s the real “probability of a callback” most DIY guides never mention.
- Risk cost. In tier three, an injury can cost far more than any repair.
Professional repair moves the risk out of your garage. Our technicians have up to 15 years of experience, and we work on the brand you already have through Chamberlain, Genie, Clopay, and Amarr systems, so there’s no guesswork on familiar hardware. For pricing on any specific repair, call (833) 468-3082 for a free estimate. We answer 24/7, and fast dispatch runs from 7am to 7pm, Sunday through Friday.
Opener Programming and Smart Home: Where DIY Stops
Opener work sits in a gray zone. Resetting a remote or adjusting a travel limit is tier-one work that most people can do. But once you’re wiring a new opener to a smart home hub, syncing a Wi-Fi opener to an app, or replacing a control board, the complexity climbs fast. That’s where we see Irvington homeowners get stuck.
The reason is that opener programming is brand-specific. A LiftMaster or Chamberlain unit with Wi-Fi integration programs differently than a legacy Craftsman or Genie system, and the app setup is often where the job stalls. When the only symptom is “it works but the app won’t talk to it,” the door itself isn’t broken, but the homeowner has hit a dead end. That’s when garage door opener repair becomes the right call.
Our advice: if the job involves only a remote and a travel limit, do it yourself. If it involves removing the opener’s housing, replacing a logic board, or connecting to a smart-home platform, hand it off. The risk isn’t injury in most cases; it’s damaging a component that’s harder to replace than it looks.
The Hybrid Approach: Diagnose Yourself, Hand Off the Repair
This is the part most DIY guides skip. You don’t have to choose between “do everything yourself” and “call a pro the moment anything goes wrong.” The best path for a lot of Irvington homeowners is to do the diagnostic work themselves, then hand off the repair with a clear description of what’s happening.
Here’s how to run that playbook:
- Watch and listen. Note exactly what the door does. Does it reverse at the same height every time? Does the opener hum without moving the door? Does the door sag on one side when it’s half-open? Write it down.
- Inspect the obvious. Check the sensors, the rollers, and the weatherstripping with a flashlight. Look for visible gaps in the springs and frayed cables.
- Try the manual release. Pull the red cord to disconnect the opener. If the door is impossible to lift by hand, the springs are the problem. If it lifts easily but the opener still won’t run, the opener is the problem.
- Note the brand. Read the label on the opener and the door. Tell us the brand and model, and whether it’s a smart opener or a legacy unit.
- Call with your diagnosis. With a clear description, our technician can arrive with the right parts on hand, not on order. That’s why parts supply is part of what we do rather than an afterthought.
This hybrid saves the diagnostic time and gets the door back in working order faster. It also means fewer surprises when the technician arrives.
Repair vs Installation: Two Different Decisions
Installation is a separate question entirely. If the door itself is failing structurally (cracked panels, a bent frame, a door from before modern safety standards), repair may not be worth it, and a replacement is the smarter spend. That’s garage door installation territory, and it’s not a DIY job. Matching a new door to the home’s framing, the garage’s headroom, and a compatible opener is where a professional’s brand fluency matters most.
We work on Clopay, Amarr, Wayne Dalton, and Raynor doors, and a replacement involves measuring the opening, choosing the door and the opener together, and confirming the springs are rated for the new door’s weight. A door and opener that don’t match will work for a while and then wear each other out. On installations, we don’t promise same-day work; we promise a free measure and a written price up front, so you know the cost before anything gets ordered.
What’s Specific to Irvington Garages
Irvington’s housing stock shapes how garage door work plays out here. The neighborhood has a lot of older homes with detached garages, and older garages often have doors and openers that don’t match the house’s age. A door from one era tends to be paired with an opener from another. When something fails, the homeowner is often dealing with a system no single installer originally specified, which is exactly why brand familiarity is a practical concern, not a marketing line.
The other local reality: garages here take a beating from the freeze-thaw cycle each winter. Metal expands and contracts, springs lose tension over the seasons, and the rollers wear faster than they would in a milder climate. That means keeping up with the safe DIY task list (lubrication, seal checks, and monthly auto-reverse tests) really matters in Irvington. A door that’s ignored for two winters tends to need more work by spring.
We also see a lot of older Craftsman openers in Irvington garages, and they’re often paired with doors of a totally different brand. If you’re not sure what you have, that’s fine. We service the equipment from all the major brands, including LiftMaster, Chamberlain, Genie, Clopay, Amarr, Wayne Dalton, Craftsman, and Raynor, so the brand on the label won’t be the reason we turn you away. If you’re ready to get it fixed, visit Irvington Garage Door Repair Pros or call us directly.
See the difference
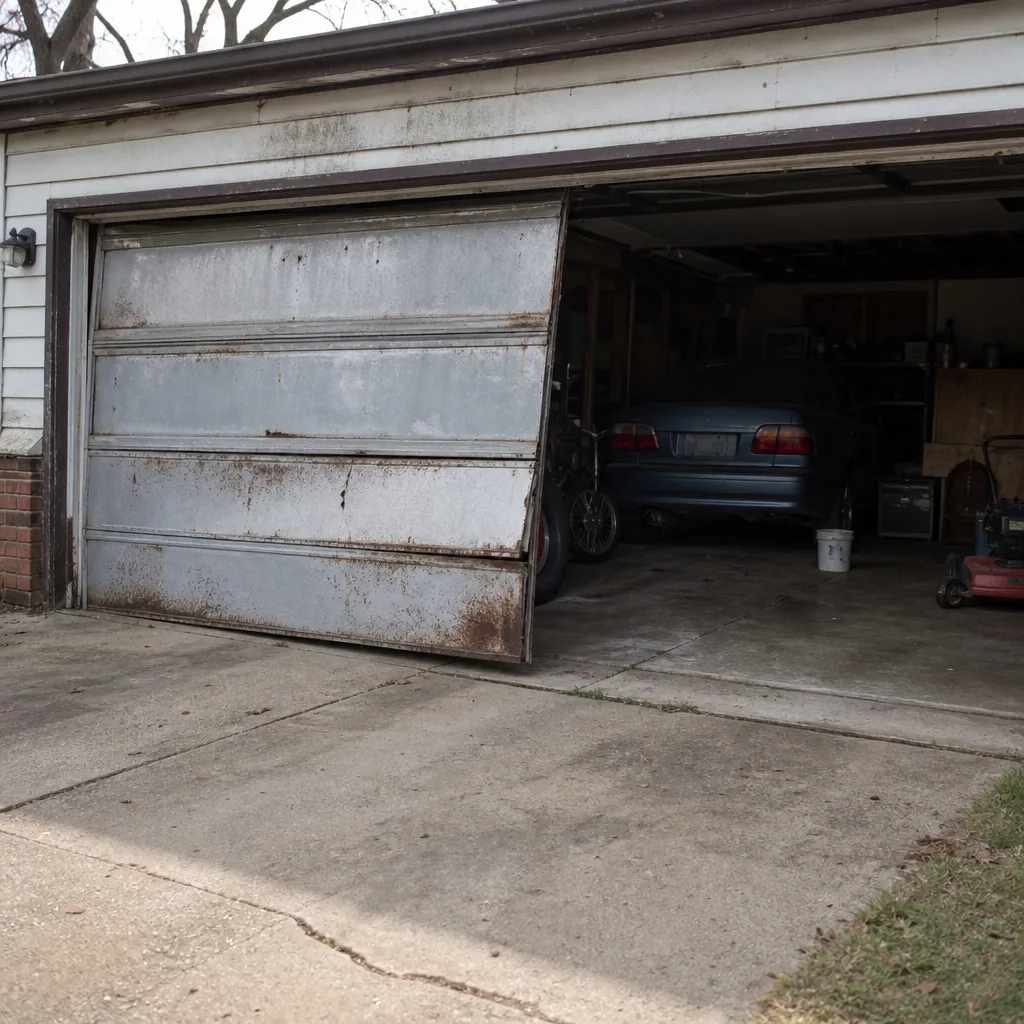 Before
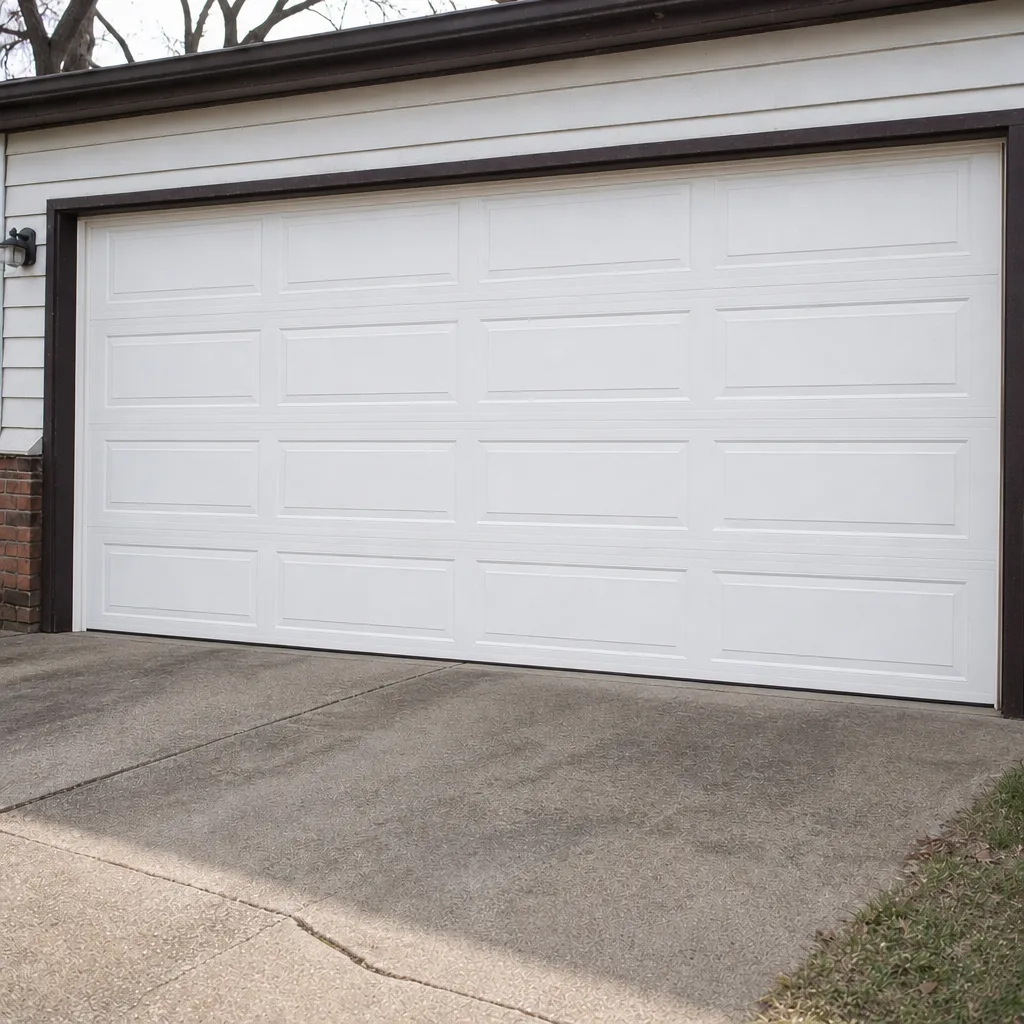 After
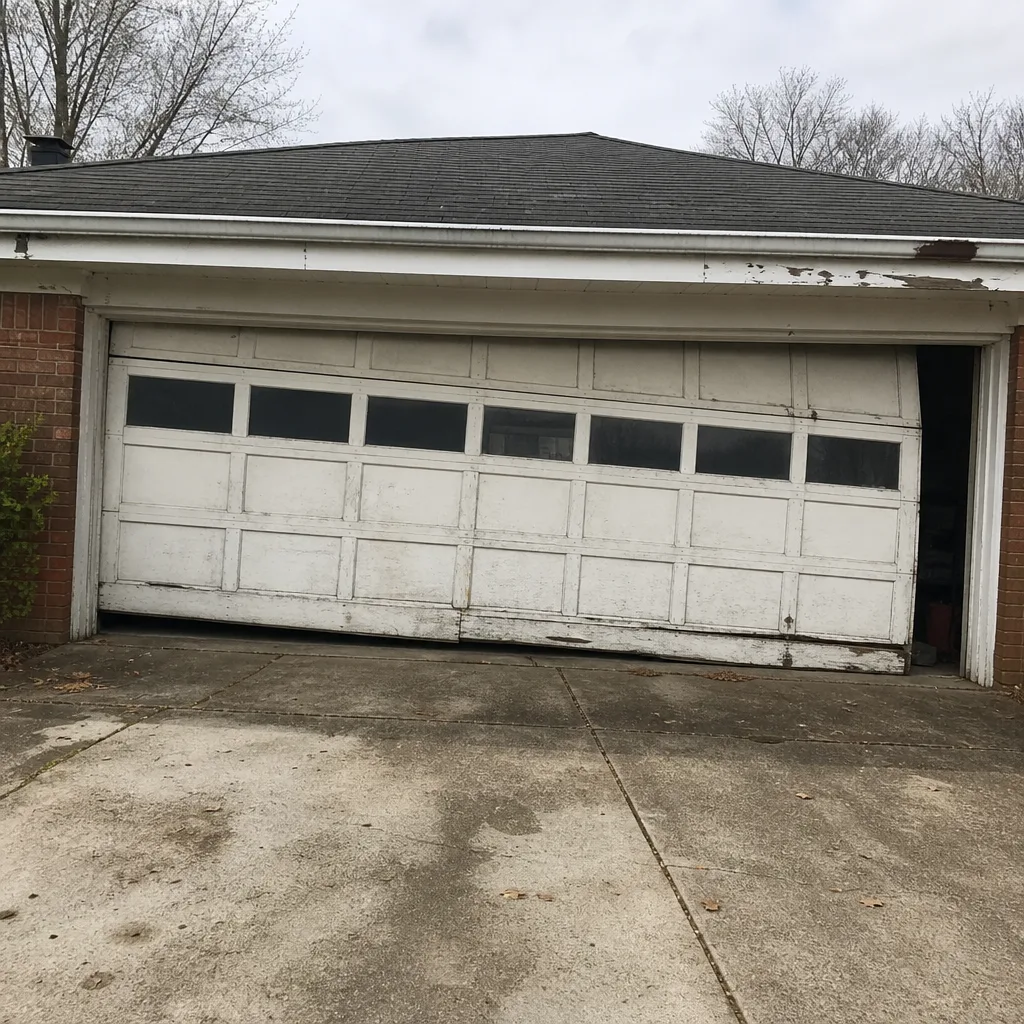 Before
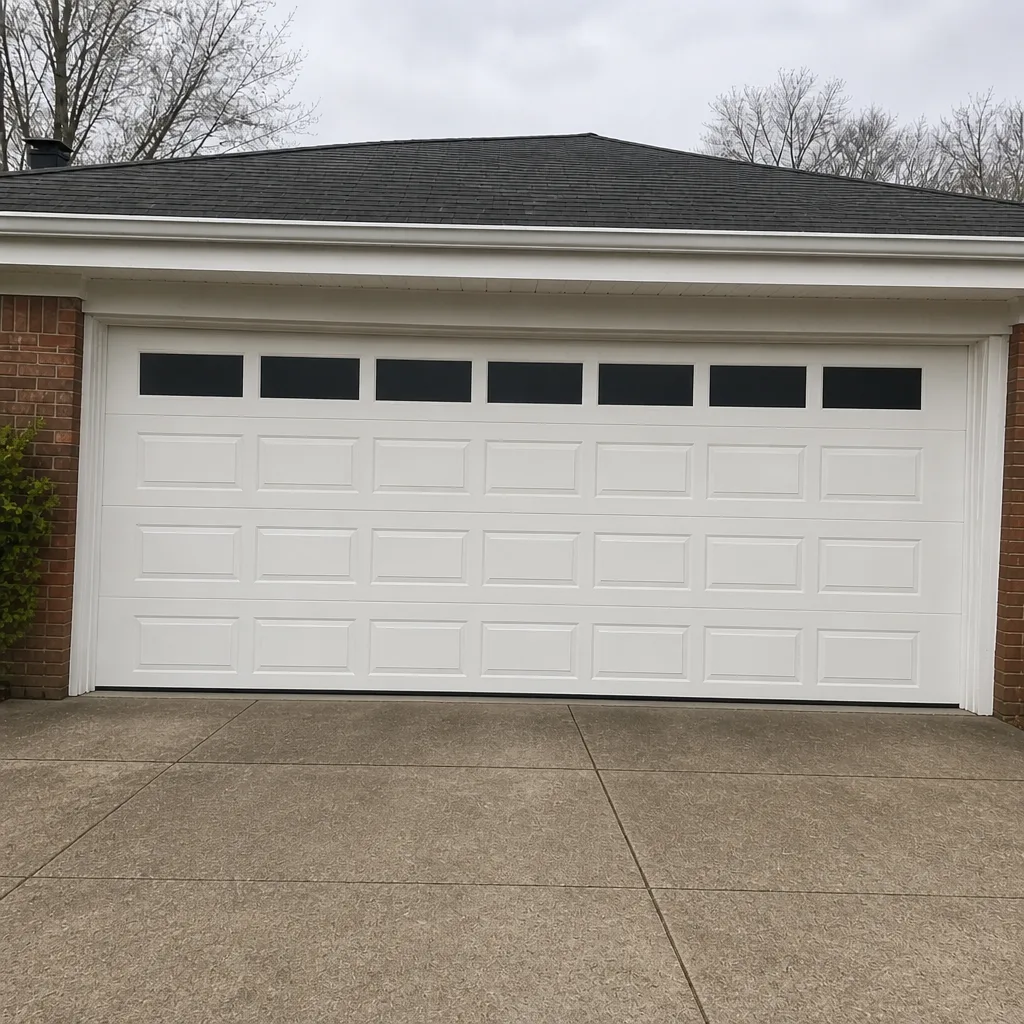 After
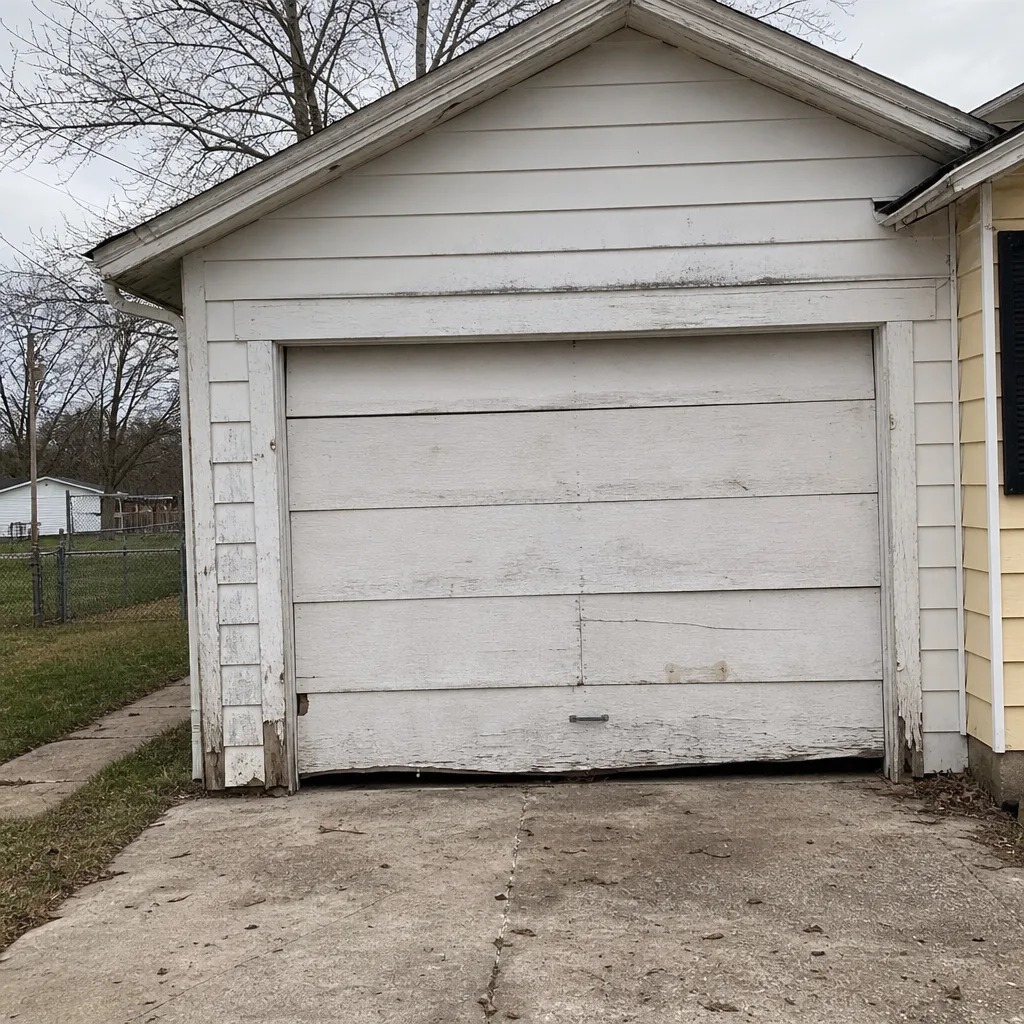 Before
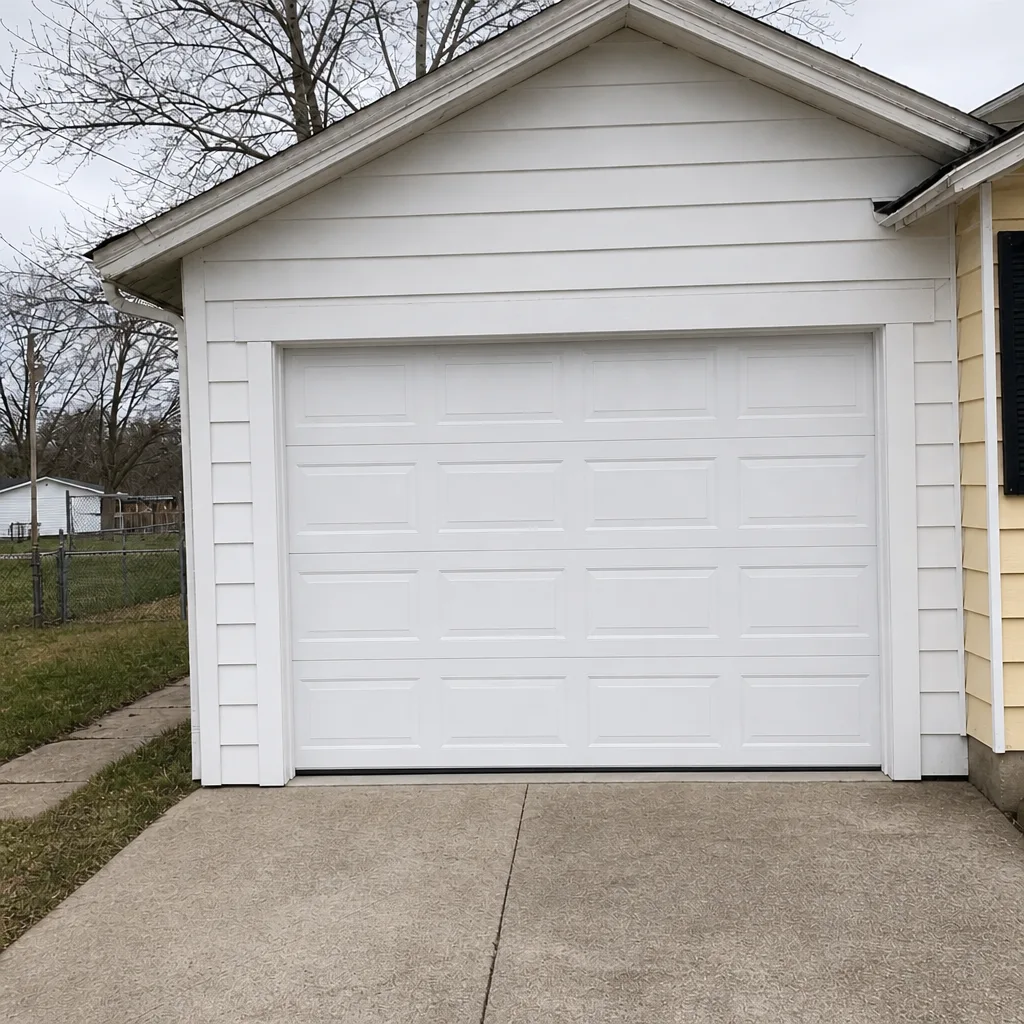 After
Common Mistakes to Avoid
- Trying to wind a torsion spring without winding bars. A screwdriver or a wrench can slip under tension and the spring bar will swing. There is no safe shortcut here; this is a professional job.
- Re-attaching a cable without checking the drum. A cable that’s been re-seated incorrectly can slip again the moment the door cycles. If a cable is off, the drum is usually the reason, and that means a professional call.
- Ignoring a door that’s off the track. A door that’s jumped the track in Irvington rarely fixes itself. Forcing it back into place can bend the track and make the repair more expensive.
- Over-lubricating. More grease isn’t better. Excess lubricant on rollers attracts grit and speeds wear.
- Replacing a spring with a spring of the wrong rating. A spring’s wire gauge and length must match the door’s weight. A mismatched spring strains the opener and shortens the life of the door.
- Skipping the auto-reverse test. A door that won’t reverse on contact is a safety problem. Test it monthly with a 2×4.
- Calling only after a DIY attempt fails. If you already have the diagnosis, call before you start. It’s often cheaper than fixing what you tried.
When to Call a Professional
Call a professional when the work involves springs, cables, or track realignment, or when the door is off its track or won’t lift safely by hand. Call when the opener hums but the door doesn’t move, when a smart opener won’t connect, or when you’re planning a new door. And call if you’ve already started a DIY repair and it’s not going well; the situation is easier to correct before you’ve committed to a fix. Irvington Garage Door Repair Pros offers free estimates in Irvington, and our technicians work on the brands you already have. We answer 24/7, with fast dispatch from 7am to 7pm, Sunday through Friday, and every price is quoted and agreed before any work starts. Call (833) 468-3082.
Frequently Asked Questions
No. Replacing a torsion spring yourself is dangerous because the spring stores enough energy to cause serious injury if the winding bar slips. Spring repair should always be handled by a trained technician with the right tools and balance checks.
Weatherstripping, safety sensor alignment, lubrication, and monthly auto-reverse testing are all safe to do yourself. Anything involving springs, cables, tracks, or opener control boards is not, because a mistake is dangerous or requires professional correction anyway.
Pricing varies by repair type and door system, so we set the cost per job with a free written estimate. That estimate is agreed before any work begins, so the number doesn’t change mid-job. Call (833) 468-3082 to get an exact quote.
No. We quote and agree on the price before any work starts, and the written estimate sets the final price. If the scope changes once we’re on site, we tell you before doing anything else.
Our technicians have up to 15 years of experience, and the local pro we connect you with is licensed and insured as the state requires. Ask us for details when you call.
Often, yes. We offer same-day service when our schedule allows, and we answer 24/7 so you can call whenever something fails. Fast dispatch runs from 7am to 7pm, Sunday through Friday, so the sooner you call, the sooner we can get you on the schedule.
Repair is usually the right call when the door is structurally sound and only the springs, opener, or rollers have failed. Replacement makes sense when the door itself is damaged or outdated, and that’s a scheduled job with a free measure and a written price.
Stop and call. A door that’s partially disassembled or off its track is easier to correct before more work is done on it. Tell us exactly what you tried and what happened, and we’ll pick up from there.
The Bottom Line
The DIY vs professional garage door question comes down to the failure mode, not your skill level. Weatherstripping, sensor alignment, and lubrication are yours to handle. Springs, cables, and track realignment belong to a trained technician because a mistake there is genuinely dangerous. The smart path for most Irvington homeowners is the hybrid: diagnose the problem, note the brand, then hand off the repair with a clear description so the technician arrives ready. One call can cover the repair, the parts, and the installation. Call (833) 468-3082 for a free estimate in Irvington. We answer 24/7, with fast dispatch from 7am to 7pm, Sunday through Friday.
Written by the team at Irvington Garage Door Repair Pros.